DIY IKEA Cabinet Boxes
Maybe it started with replacement countertops or adding a kitchen backsplash, but now you find yourself planning to install an IKEA Sektion Kitchen. Full disclosure, this is a significant undertaking which requires a whole lot of patience and planning. If it’s time to upgrade your kitchen with a more modern look and more functionality, your kitchen cupboards are part of that redesign.
In this post we cover how to unbox, assemble and hang your IKEA cabinet boxes. In our next post we’ll cover how to install drawers, IKEA or custom IKEA doors, end panels, and trim. Of course, since Dendra Doors is all about customizing IKEA cabinetry, we will include those added steps and considerations.


Inspect Your IKEA Delivery
It’s a good idea that you know where you will be inspecting and assembling your cabinets. To cut down on the risk of damage, go ahead and put your delivery in your designated workspace. If you’re painting your own DIY fronts to go on your IKEA cabinet boxes, you will of course need extra time and space to make sure it’s done right. To cover what all that entails, see our original post titled How to Paint DIY IKEA Cabinet Doors.
Once you receive your IKEA cabinets (and Dendra Doors) delivery, it is very important to:
- Check for shipping damage.
Whether it’s Dendra Doors or IKEA, there is a limited window of time to identify and be compensated for shipping damage. First, before you unwrap or unbox anything, inspect your deliveries for any obvious signs of damage. If anything stands out go ahead and take pictures.
- Check for manufacturing defects.
- Verify that the finishes & number of items delivered are correct.
- Do a hardware count!!
Tip: Never cut directly into the face of your IKEA delivery boxes. It is far too easy to damage your finishes. IKEA packing boxes come glued, so your best bet is to cut the glued flaps.
Organize Your IKEA Delivery
As you open up your delivery to check for damage, defects, and mistakes, it’s a good idea to organize items based on how they’re assembled. To make it easy to organize, start by grouping the delivered items into the following categories:
- IKEA Cabinet Boxes
- Drawers
- Drawer Fronts
- Doors
- Panels & Trim
- Hardware & Accessories
From here you will need to identify which pieces go to which base cabinets and wall cabinets. To help make sense of this you’ll want to make sure you have a printed copy of your IKEA Planner: your Item list with 2D and 3D Views. This will help you identify each item and visualize how these pieces go together.

Assemble Your IKEA Boxes
Assembling your IKEA cabinet boxes is one of the easier steps in this process. Though, it’s important that you plan ahead and make sure you have the space to assemble these. Remember, it’s not just the footprint on your IKEA Planner, it’s also your upper cabinet boxes as well. If you are limited on space it’s a good idea to assemble your IKEA wall cabinets first and hang them. That will free up your workspace and you can get to work on your IKEA base cabinets.
The instructions are easy to understand, but keep them handy; if you have never assembled IKEA cabinets before you will want to use the instructions until you have assembled each type of cabinet boxes. From there your cabinet assembly will go quickly, regardless of size variations. To speed things up it is s good idea to use a Drill with the correct sized drivers.
Hang Your IKEA Suspension Rail
This step of IKEA Kitchen Installation can be quite intimidating, but there is a ton of available information on how to do it right. It is very important that the track (suspension rail) is installed perfectly level. The three best tools for this step are a Laser Level, a Stud Finder, and a Drill. If you don’t have or aren’t going to rent a Laser Level you can use standard Level and Chalk Line.

You will want to measure to the floor and ceiling for reference, but do not rely on either to provide you with a straight or level line. Make your reference marks and create level lines for the bottom edge of your track for both top and bottom cabinets. Once you’ve established the perfectly level placement for your track and initially marked them out you can also snap a chalk line for better visibility.
Next, locate and mark your studs on center, which will usually 16” apart. When marking out studs you will want to be 1 1/2” up from your track line.
Tip: If this a new home or complete remodel, install your cabinet boxes before your prime your walls: You will be able to see your drywall screw placement which will let you know where your studs will be.
Screw in a two screws on either end to hang and position your track. Then, setup your leveler-washer on your first screws. Repeat for all studs and use drywall anchors whenever needed. Don’t cinch down your screws completely until you have double and triple checked your placement and that the whole track is level. Note: The way the leveler-washers work requires that they are placed horizontally instead of vertically.
Tip: To strengthen your installation – great for base cabinets with heavy countertops – once your track is level and your primary screws are seated, add another screw on the bottom of the track, at the center of the stud.
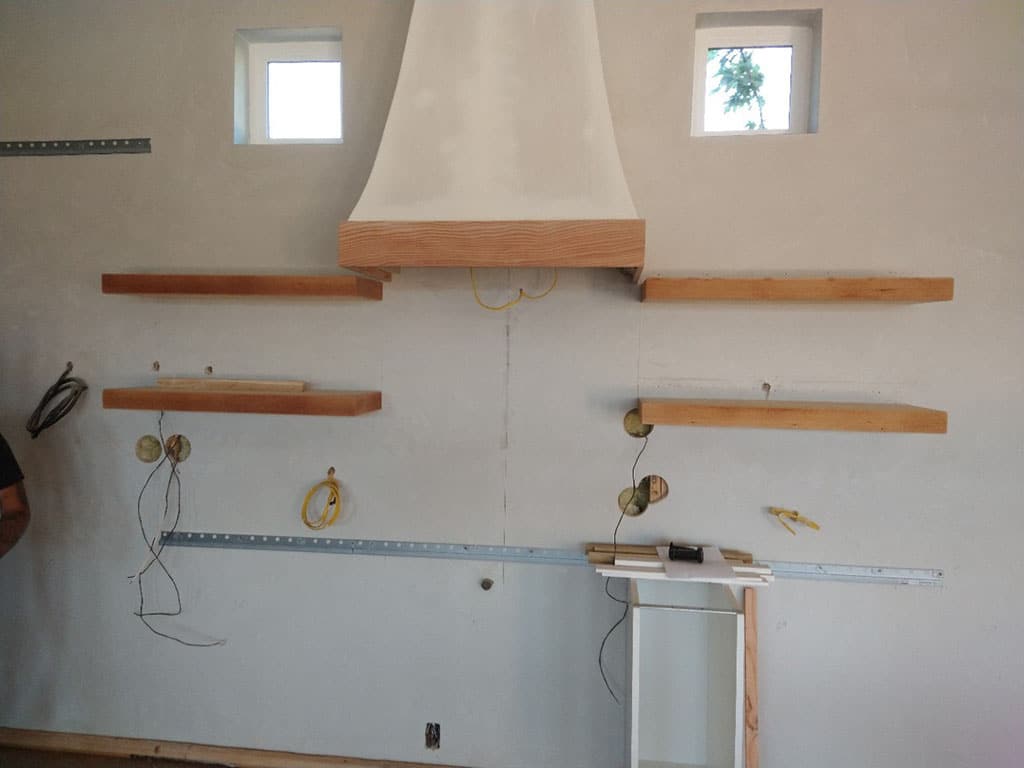
Hang Your IKEA Cabinet Boxes
After hanging the track you will be happy to know this is one of the easiest steps. Hang your Wall Cabinets on the upper track and then your Base Cabinets on the bottom track.
Position and Attach Your IKEA Cabinet Boxes
Once you have your cabinet boxes hanging on the level track, you need to find their permanent, level placement and secure them. Because your cabinets will always be framing appliances you will need to mark out the placement of those first. Once you’ve established a centerline for your appliances you can measure out and establish vertical alignment points.
Tip: When measuring and placing your IKEA cabinet boxes: 1) Make sure you are leaving room for the width of End Panels. 2) Clearance for your appliances at the front and back of your cabinet boxes. Walls can bow in or out, which can leave too much or too little clearance for your appliance if you measure in only one place.


Use a rubber mallet to help position your cabinets. Make sure all boxes are both level and clamped, top and bottom, at the front end of the cabinet. Then you will proceed to drill pilot holes and then screw the boxes together. For Base cabinets you will have the feet to “help” level your cabinets. This can be rather frustrating if you don’t make time and prep everything.
Tip: Once you know where your base cabinet hang and a good idea what the distance to the floor is, go ahead and set the approximate height of your feet before you attach them.
Go to Part 2 – How to Assemble and Install IKEA Drawers and Doors
https://dendradoor.com/how-to-install-ikea-cabinets-stage-2/
Written by Todd Zimmerman
Producer of the John Webbccast


